


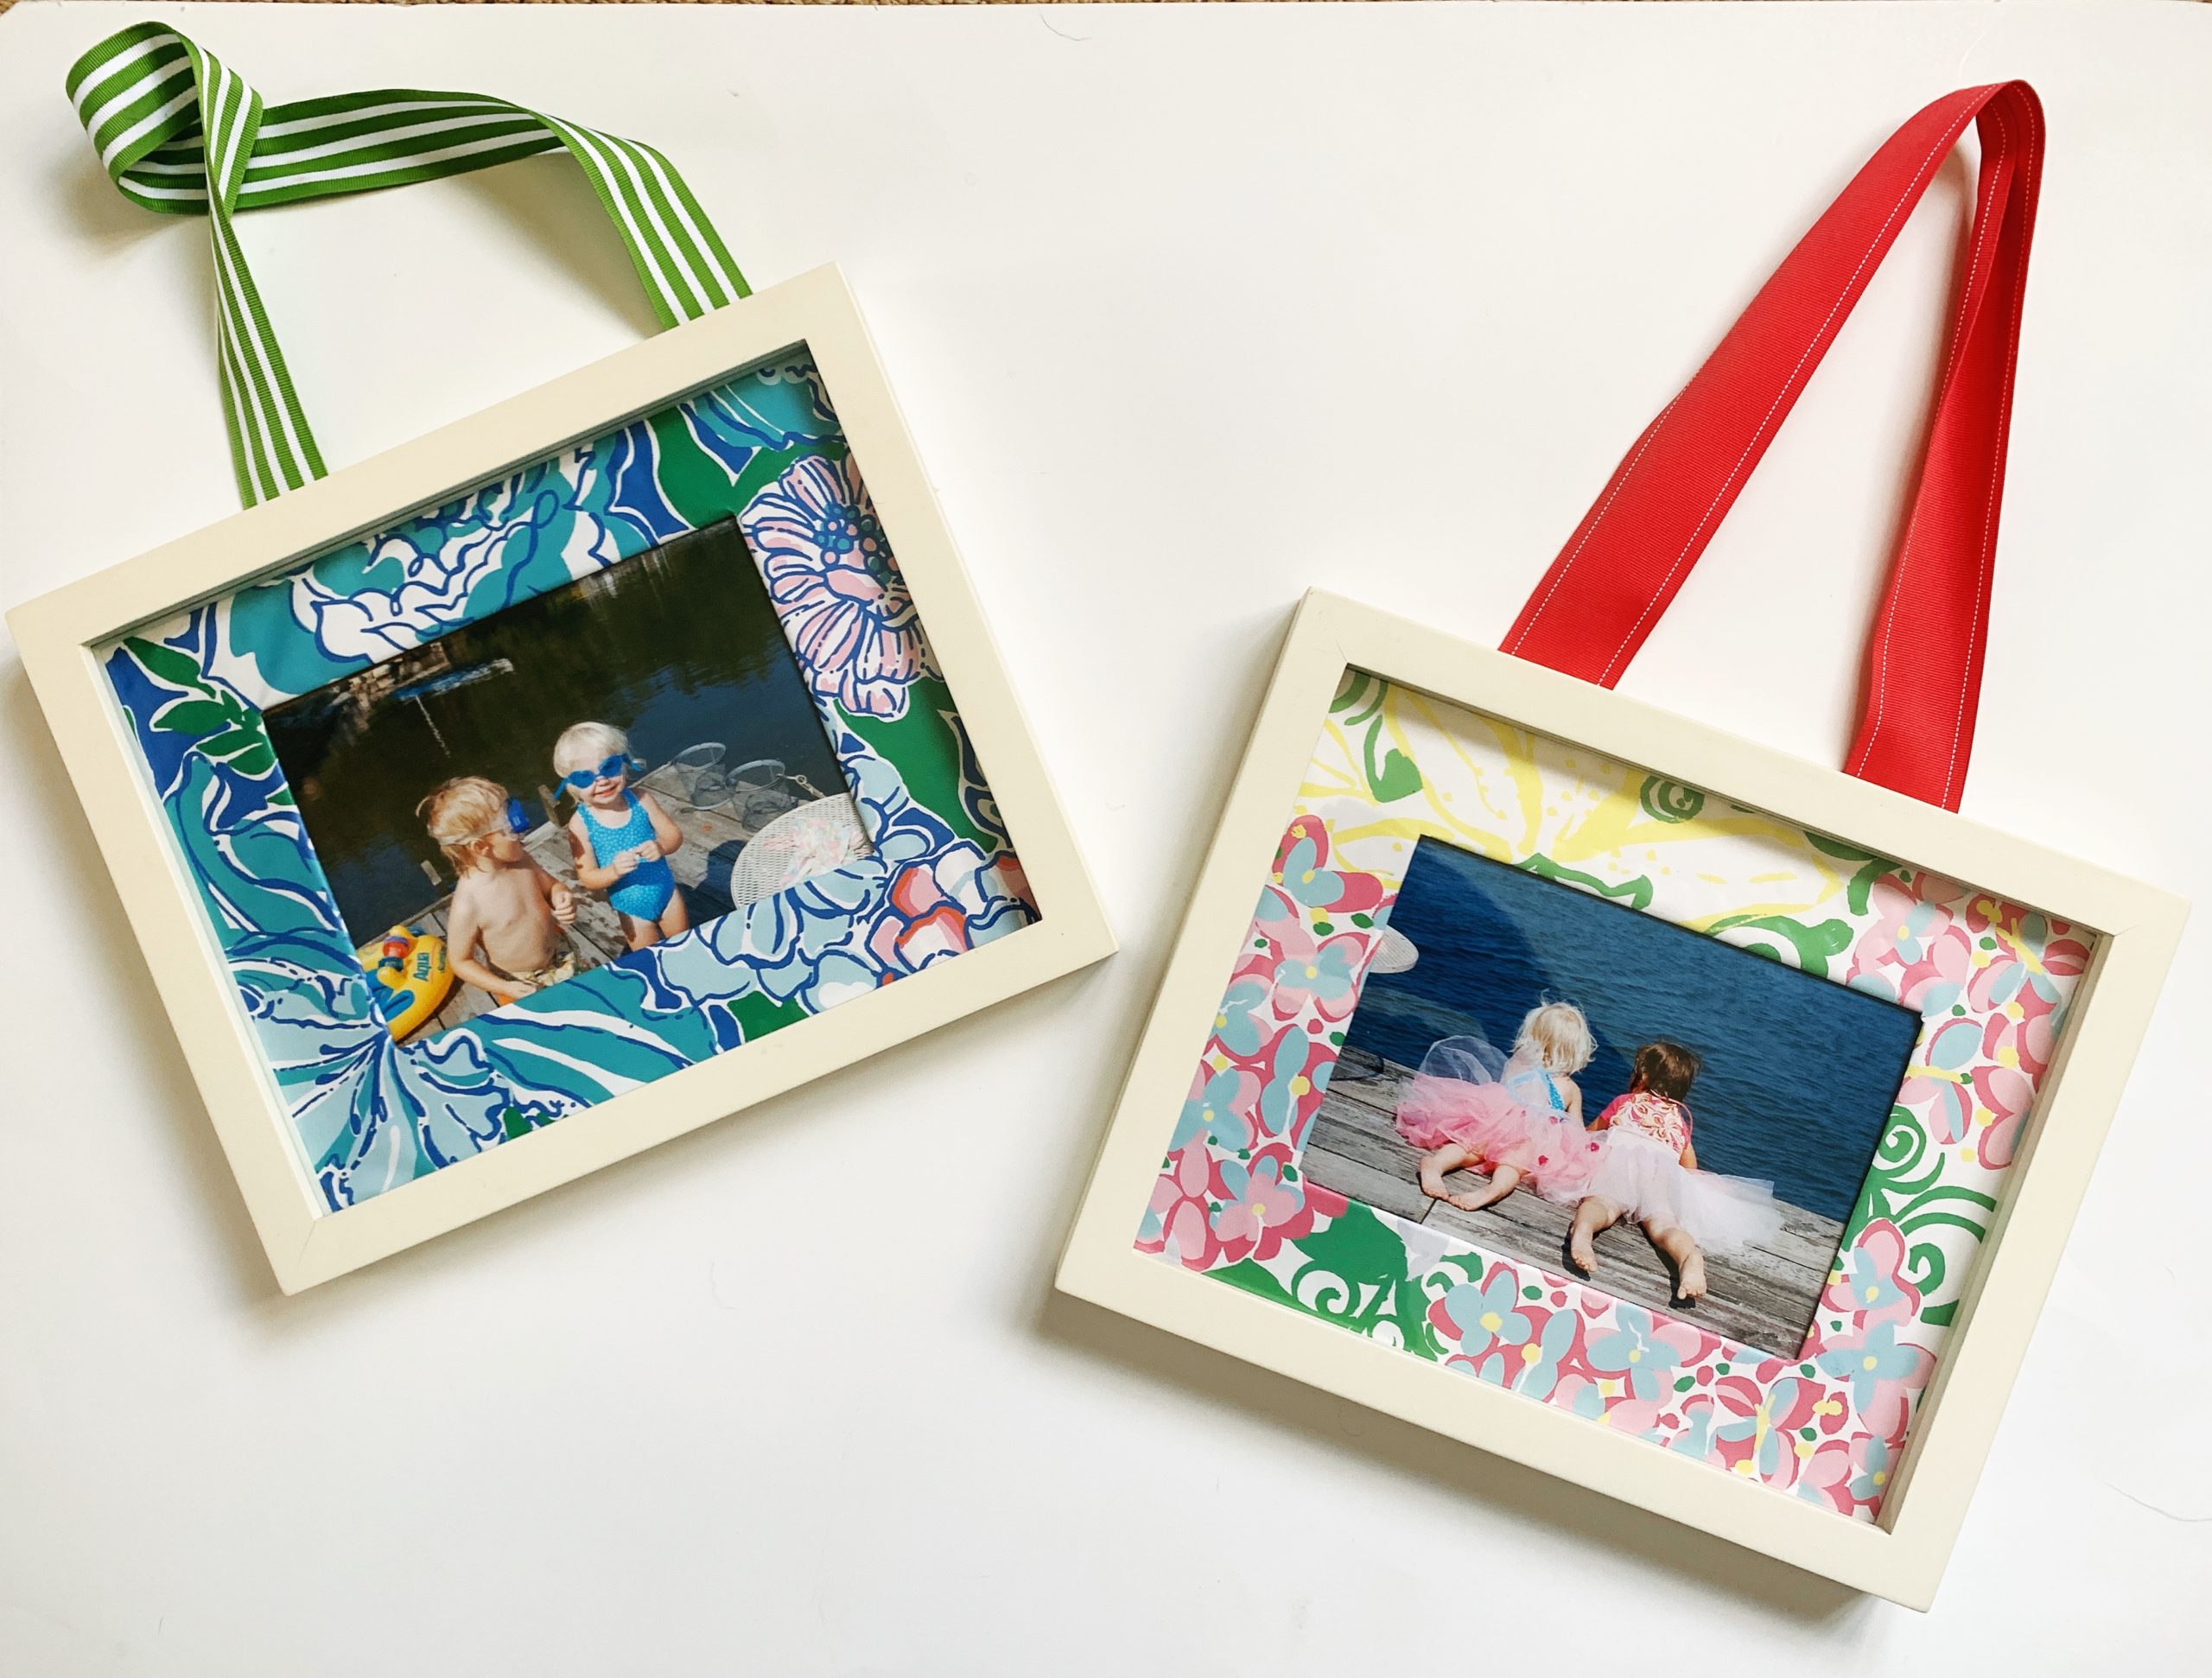
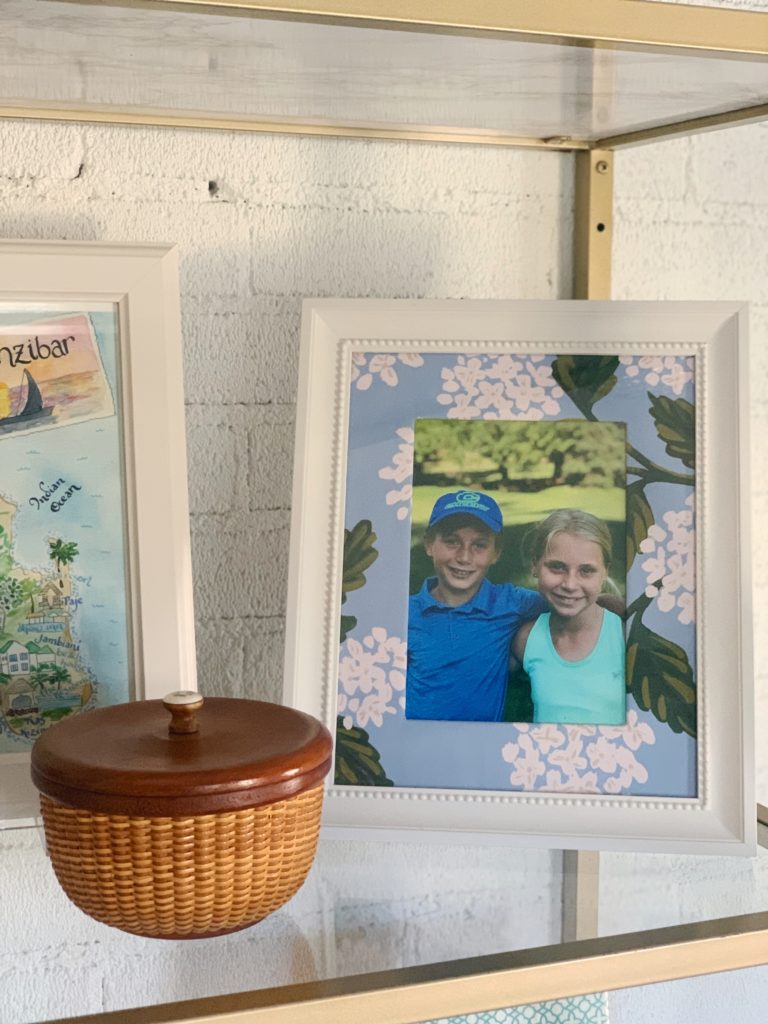
Are you getting a little stir-crazy and looking for a project. I am going to share with you an easy way to add some whimsy to your picture wall. Many of you can probably do this with supplies you have at home already, or you can order supplies from your living room couch. We did this at the lake house (wish I had pics, but the house is closed up and I am in quarantine), and also in Eiley’s room with some of our favorite pictures. Here is how to make decorated photo mats.
*This post contains some affiliate links which means if you make a purchase I might earn a small commission, but it will not cost you anything. All opinions are my own and I only share products and services that I love and think that you will love too!
What you will need
You don’t need many supplies for this one.
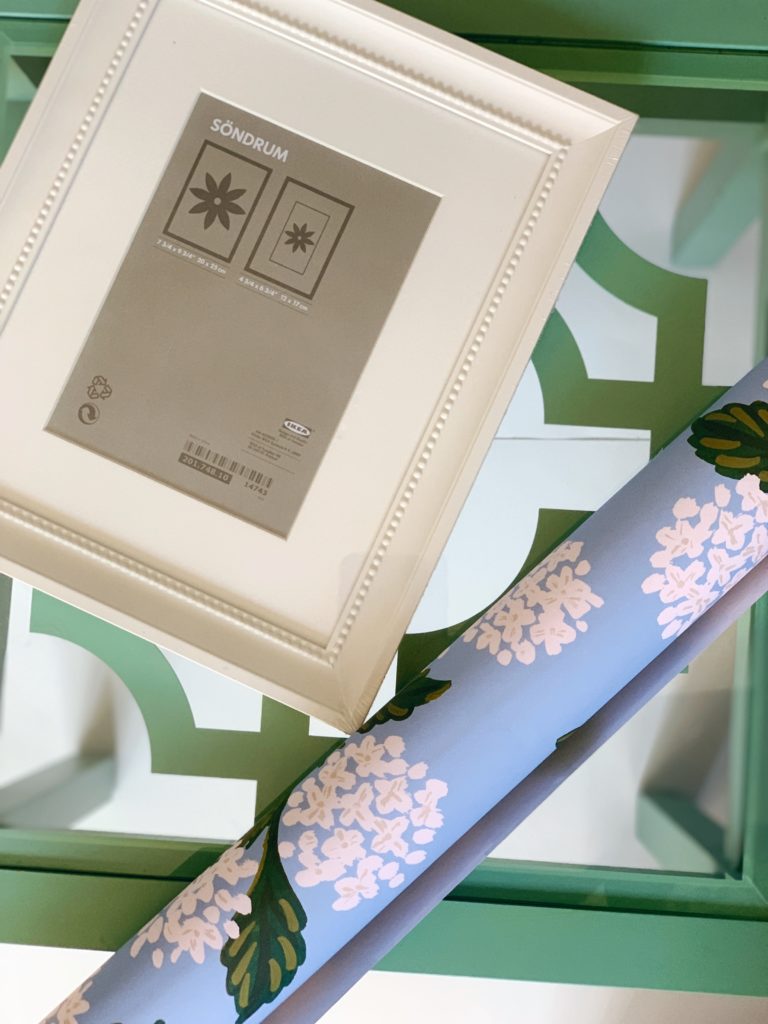
- Frames with mats
- Wrapping paper or leftover wallpaper
- Scissors
- tape or gluestick
Resources
Frames:
- Ikea Ribba Frames – A great basic frame and you can’t beat the price
- Ikea Sondrum Frames – If you like a little fun detail
- Pottery Barn – They have great frames and right now they are 25% off.
Paper for Mats:
You can really get creative here. The paper I used for some of these was from an old Lilly Pulitzer catalog, but you can use a favorite wrapping paper or maps. Here are some sources for fun wrapping paper. You can even use leftover wallpaper if you have some.
Adhesive:
Really you can use whatever you have around your house that is sticky, I just used scotch tape.
Directions:
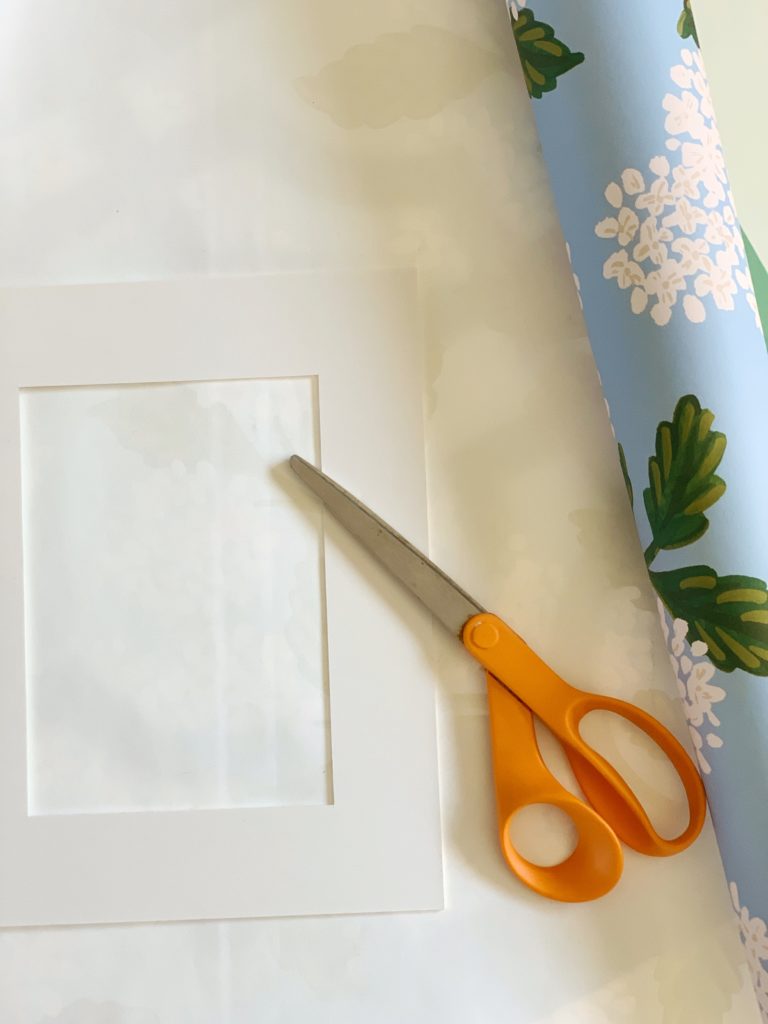
- Take mat out of the frame and lay the mat on the backside of the paper you are using. (As you are doing this think about what part of the paper you want to show on the mat)
- Cut around the mat leaving a few inches on each side to tape down.
- Make a slit in the middle of the paper
- Cut a square out of the center – leaving an inch or 2 on the edges
- Carefully cut a slit to each corner.
- Fold over and tape
- Repeat on each side
- Then fold over the outside edges (almost like you are wrapping a present)
step 1 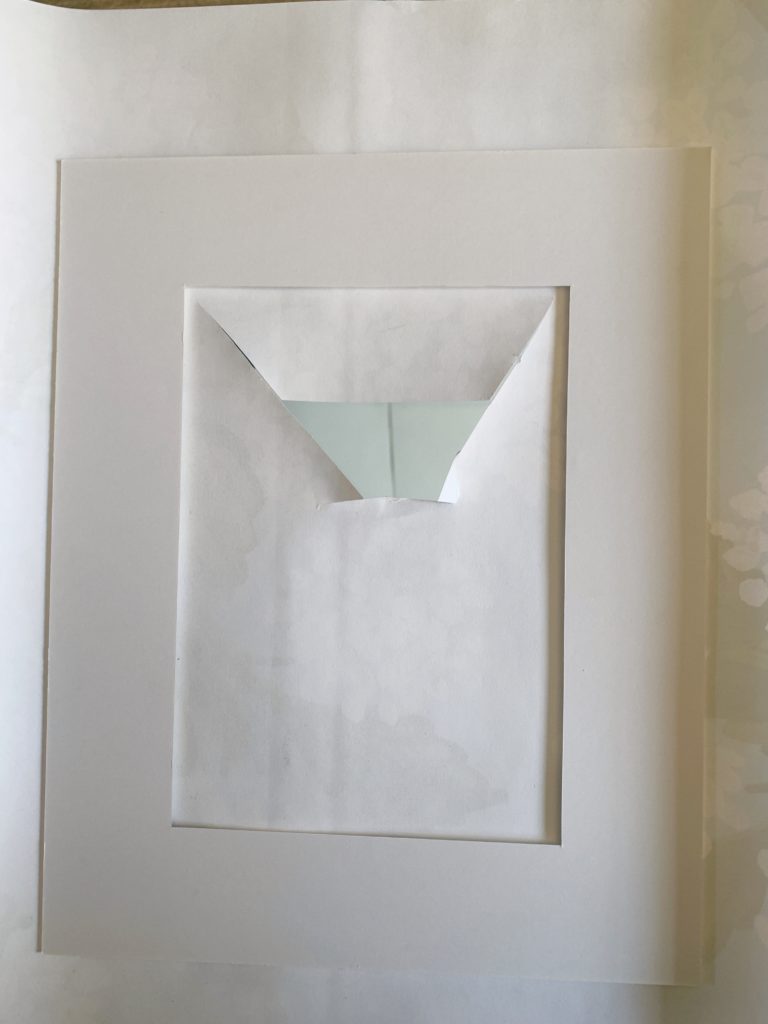
step 3 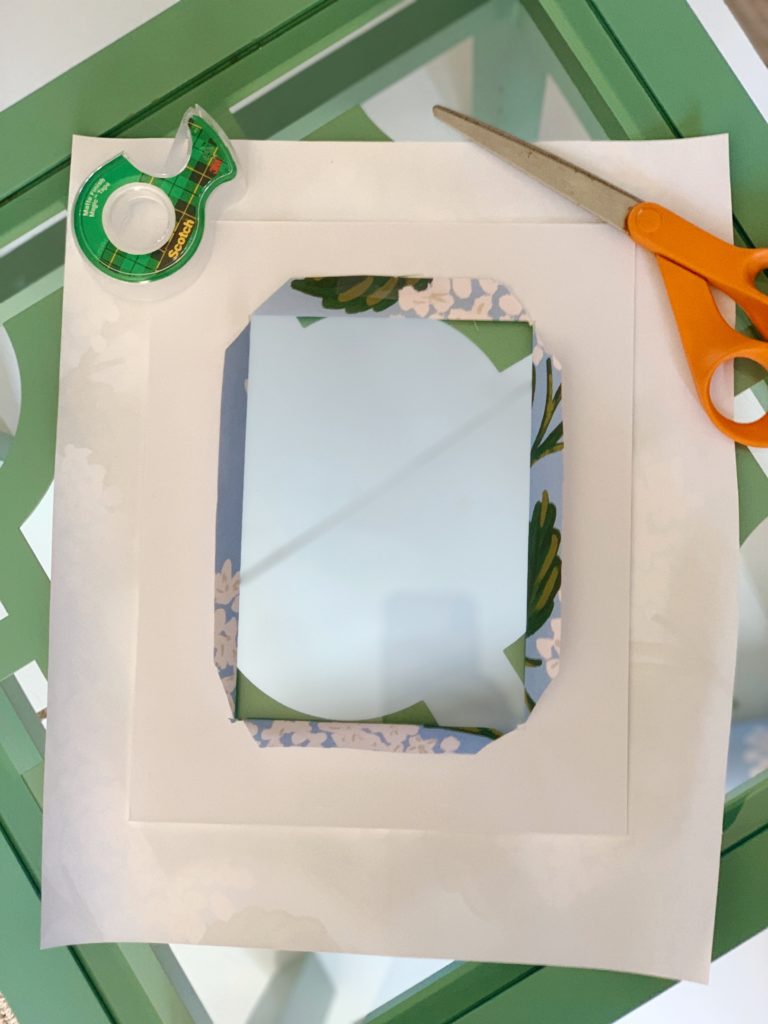
steps 5&6 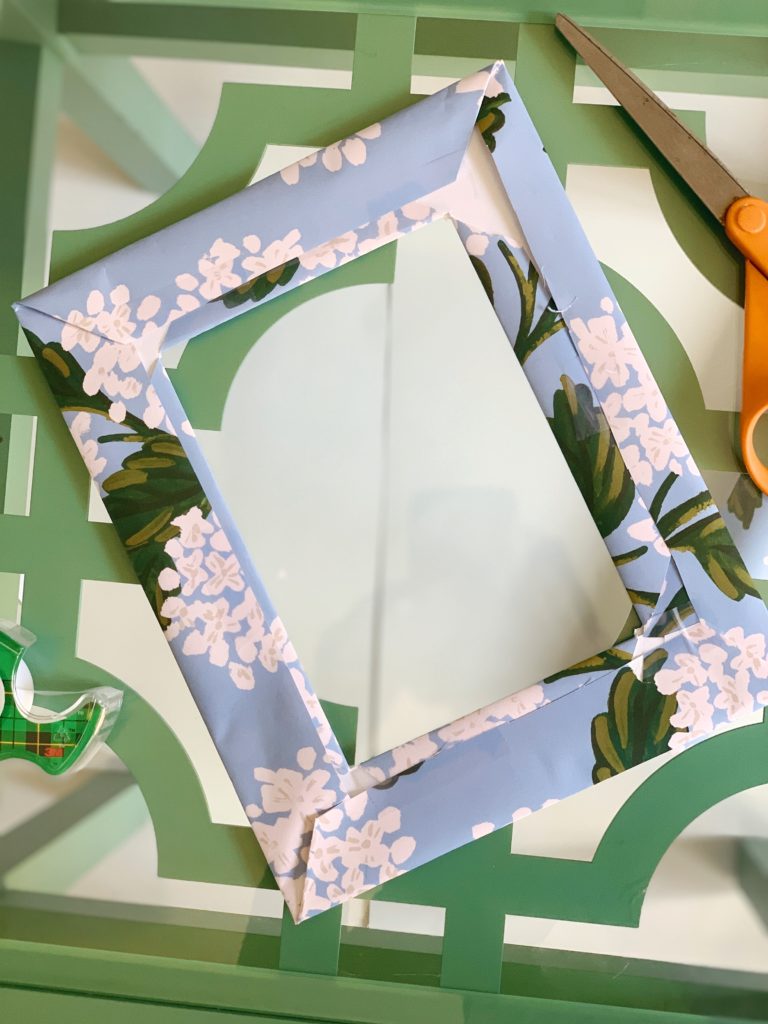
step 8
TIP: No one will see the back of the mat so don’t worry too much about perfection … as you can see here.
What fun project have you been working on?


share this post on
comments
0
leave a comment